안녕하세요.
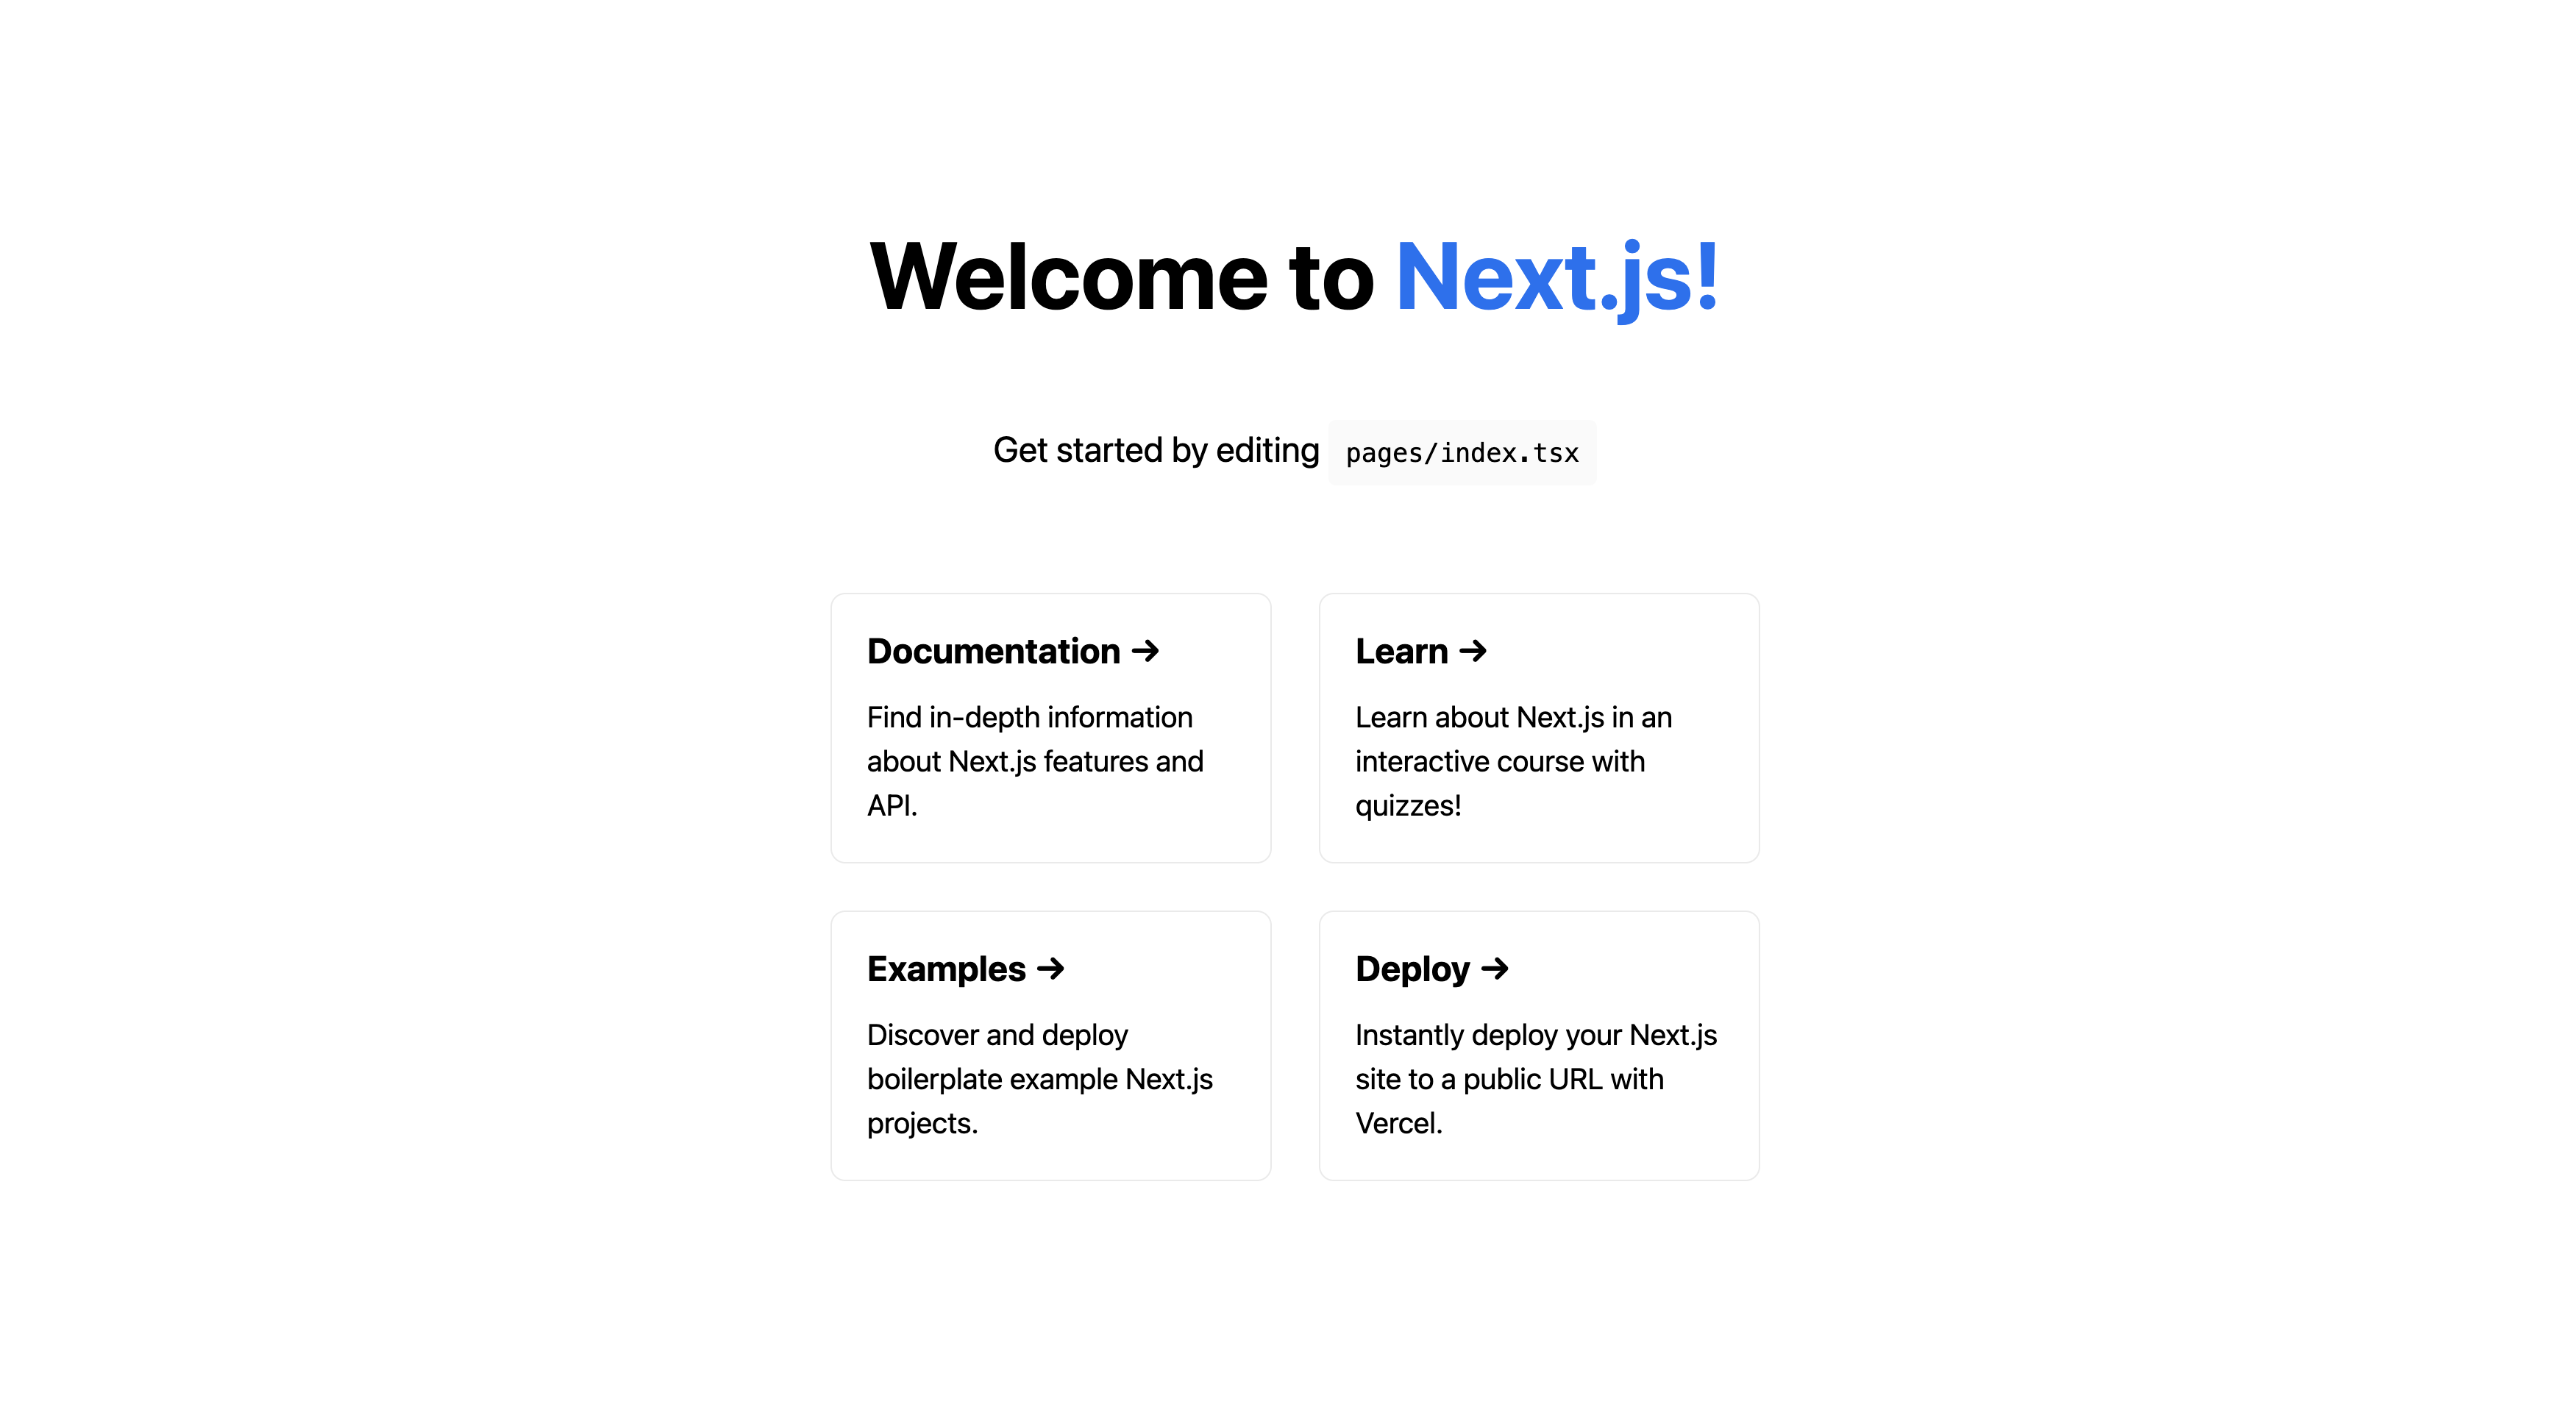
오늘은 nextjs를 시작해보겠습니다.
타입스크립트로 프로젝트를 진행하겠습니다.
1. 초기 세팅
설치
npx create-next-app --ts
# or
yarn create next-app --typescript
명령어를 입력하면 "What is your project named?"와 함께 프로젝트 이름을 입력하라고 나옵니다.
실행
# 개발자 모드
npm run dev

# 릴리즈 모드
npm run build
npm run start
ESLint, Prettier세팅
ESLint와 Prettier 세팅을 해줍니다.
저번 글에 자세한 설명이 있으니 참고해주시면 감사하겠습니다.
.eslintrc
module.exports = {
  root: true,

  env: {
    browser: true,
    node: true,
    es2021: true,
  },

  parser: '@typescript-eslint/parser',
  parserOptions: {
    sourceType: 'module',
    ecmaVersion: 'es5',
    ecmaFeatures: { jsx: true },
  },

  extends: ['eslint:recommended', 'plugin:react/recommended', 'plugin:@typescript-eslint/recommended'],
  plugins: ['import', 'react', '@typescript-eslint', 'react-hooks'],
  rules: {
    'react-hooks/rules-of-hooks': 'error',
    'react-hooks/exhaustive-deps': 'error',
    '@typescript-eslint/no-unused-vars': 'error',
    'react/react-in-jsx-scope': 'off',
  },
};
.prettierrc
{
  "printWidth": 120,
  "singleQuote": true,
  "trailingComma": "es5",
  "tabWidth": 2,
  "arrowParens": "avoid"
}
해당 세팅들은 프로젝트를 진행하며 더 추가할 예정입니다.
2. 폴더 구조
설치하셨다면 기본적인 폴더들이 있을 겁니다.
- public - 프로젝트에 사용되는 정적 파일들
- pages - 이 폴더 안에 각 페이지를 만들면 자동으로 라우팅 처리가 됩니다.
- styles - 스타일 관련 파일들
본인의 방식에 따라 추가하시면 됩니다.
저는 src, components 등 폴더들을 추가하였습니다.
3. 스타일링
평소 styled-components를 사용했었는데요.
이번 프로젝트에서는 emotion을 사용할 예정입니다.
* emotion 사용 이유
1. npm 다운로드 횟수가 더 많다.
2. CSS Prop과 styled-components 방식 모두 사용 가능
3. SSR 별도의 설정이 필요 없다.
'Front-end > Nextjs' 카테고리의 다른 글
| Next.js getServerSideProps, getStaticProps, getStaticPaths (0) | 2022.05.15 |
|---|---|
| Next.js 페이지 이동 Link, Router (0) | 2022.05.10 |
| Next.js Dynamic Routes를 알아보자 (0) | 2022.05.09 |
| Next.js _app과 _document에 대하여 (0) | 2022.05.09 |
| Next.js 특징 살펴보기 (0) | 2022.05.05 |